I began modelling my character in the last tutorial and figured I should show my progress so far. Majority of the process has gone very smoothly and I am very happy with how it is turning out.
Here are some screenshots I took while I was working:
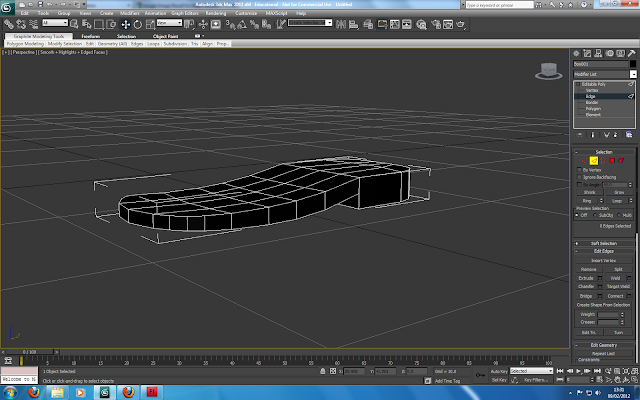 |
| Creating the sole of the shoes. |
I started from the feet when beginning the modelling process as I find this a great place to build from, usually much easier than working from the head down or the torso outwards.
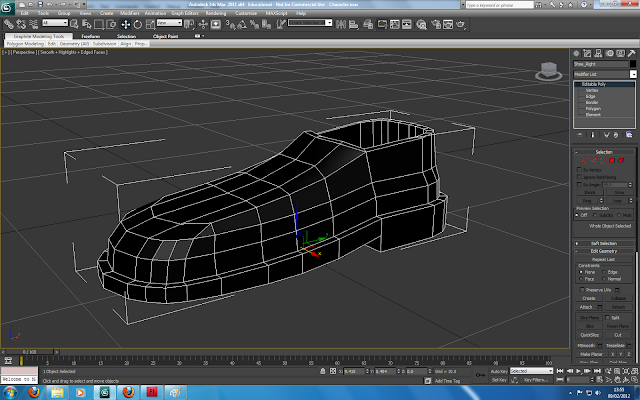 |
| The rest of the shoe |
I built upon the sole of the shoe by selecting the top polygons, insetting and extruding out. I then extruded upwards a few more times and positioned the vertices appropriately. I finished off by extruding down for the entrance.
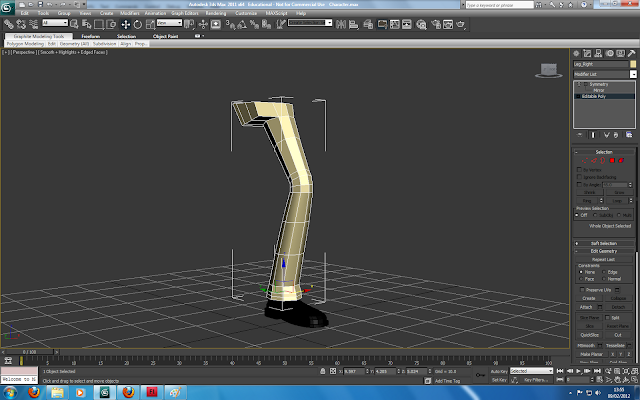 |
| The leg and beginning of the hips |
Taking advice from a tutorial I once followed last year I started the leg with a simple 8 sided cylinder. With only 8 sides the object is quite easy to work with and also quite accuratly resembles the human shape. I bent the leg at the knee here by default as it more closely resembles my initial sketch and will be the characters default standing position.
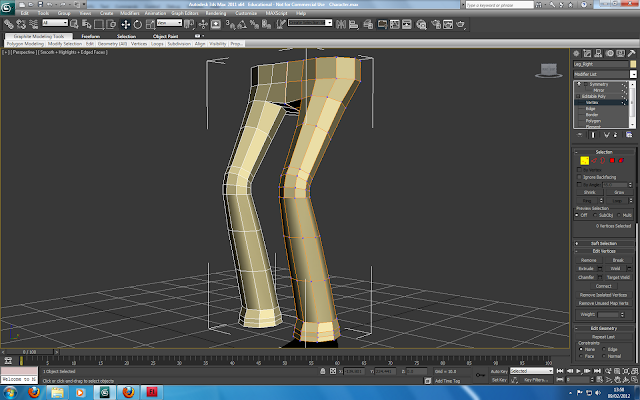 |
| Adding Symmetry |
To quickly finish the legs and hips I added a symmetry modifier to the object. I will collapse this down later if I plan on making any unique changes to each side.
 |
| Shaping the.... |
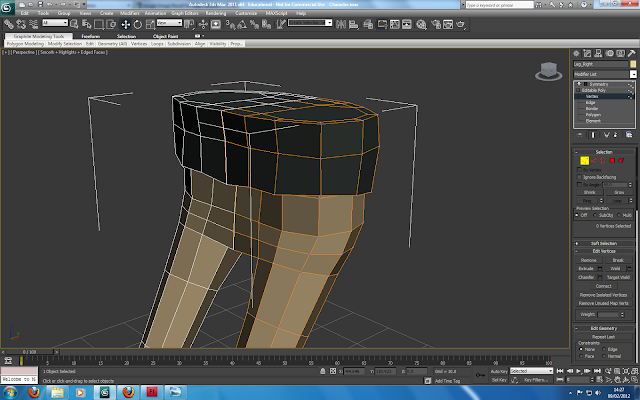
The characters bottom was a bit flat so I shaped it to more realistic proportions.
 |
| The torso |
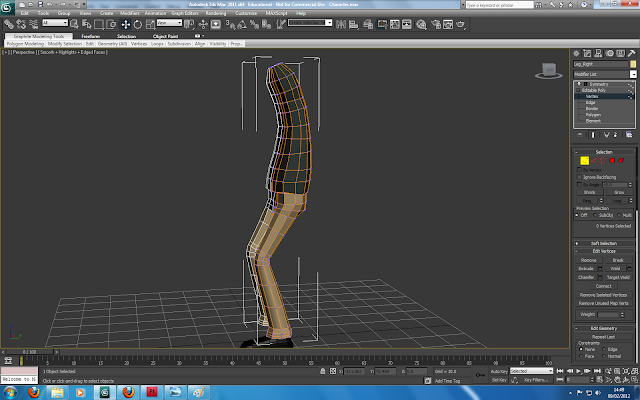
Using the same method as with the legs I kept extruding upwards but also outwards slightly to make it look as if his shirt comes over his trousers. I pulled the bottom vertices around to make it less straight but will probably come back to it later to add more detail.
 |
| The torso continued |
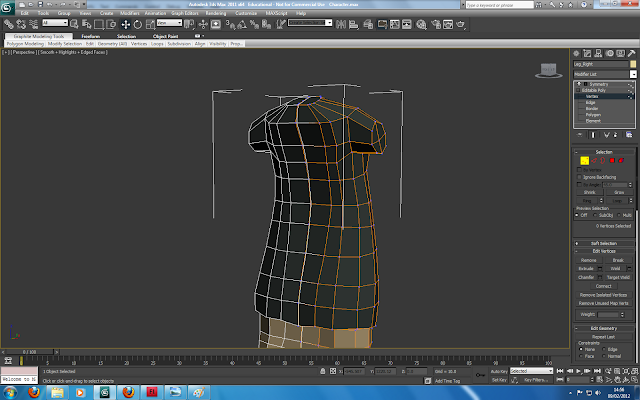
When working on building up the rest of the torso I added a slight curve to his back. Like my design sketch he has started to develop a slight hunch induced by his age as well as his lifestyle.
 |
| Adding the shoulders |
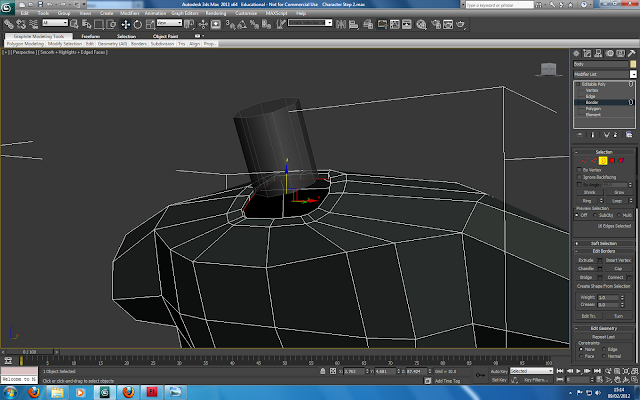
I added the shoulders and begginings of the arms by extruding out from the top of his torso and shaping it into an 8 sides cylinder just like the legs. This will make it much easier to create the arms later.
 |
| Adding the neck |
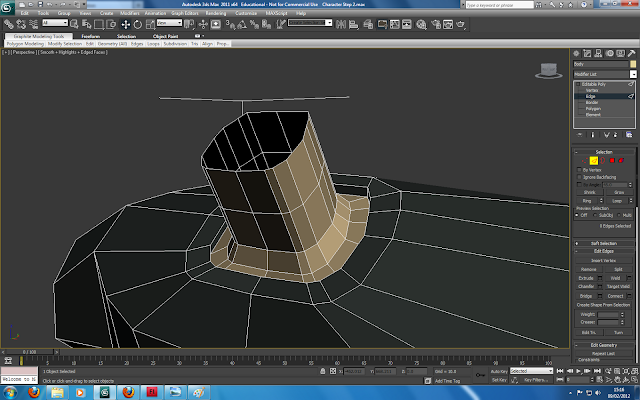
My initial plan here to create the neck was to delete the polygons inside the neck of his shirt and attach a new cylinder to plug up the hole I later decided against this.
 |
| The neck finished |
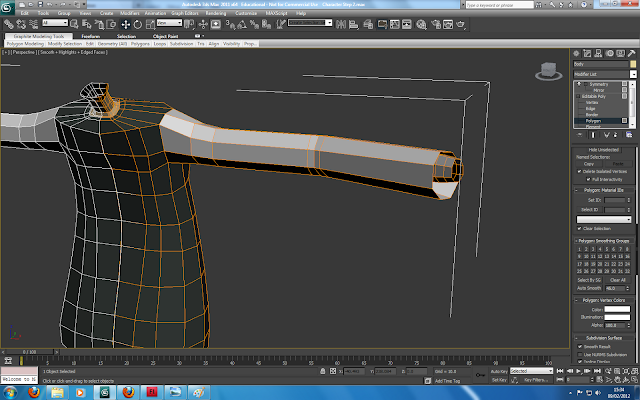
Instead I extruded out from the hole I had created and built the neck from the same object.
 |
| Adding the arms |
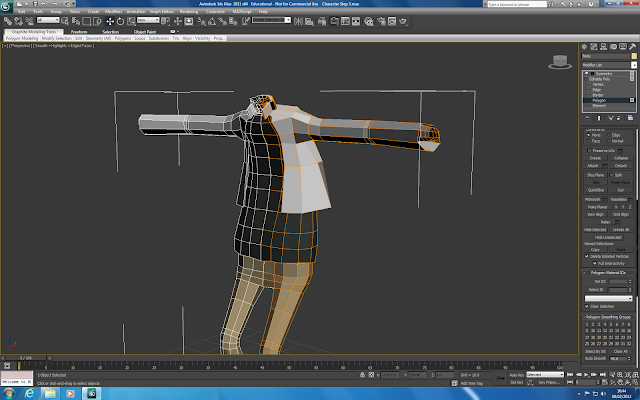
I created the arms in a similar manner to the legs. Since he is wearing a lab coat not much shape detail is required and most of the arm is the same diameter. The end of the sleeves pull back in and build out again as his wrists.
 |
| Adding his coat |
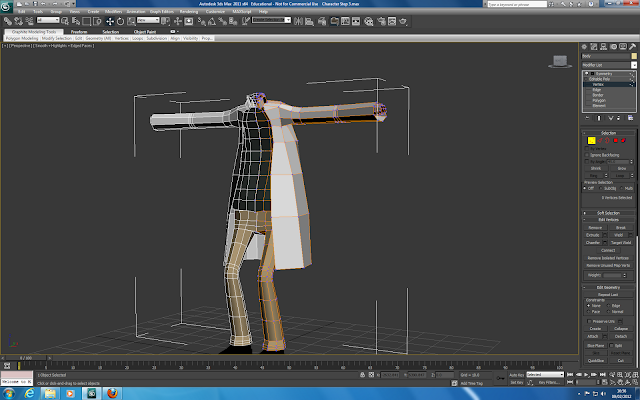
Adding the rest of his lab coat proved to be a fairly difficult concept to get my head around. I thought of making it a seperate object but decided against it. It would be too much work and require changing some of the existing model. Instead I extruded the polygons around his neck and shoulders and designated it as his coat. Then I built outwards from the model to have the rest of the coat dangle seperately.
 |
| Full length |
Because the coat from his armpits downwards is not attached to anything I have the ability to freely animate it as he walks. I am unsure whether this we be done using some sort of cloth modifier or simply giving the coat its own rigging. Either way I am certain I can get some movement out of his coat in the final animation.
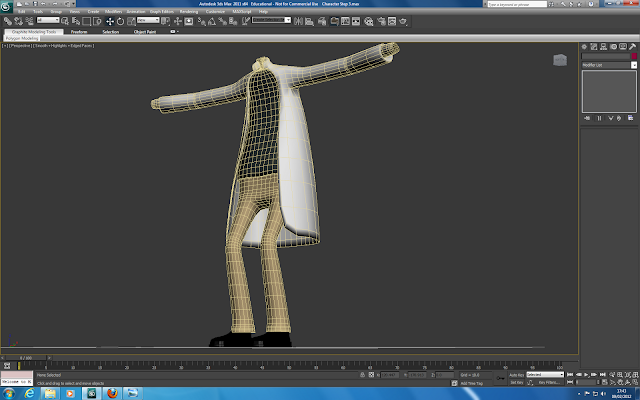 |
| Turbosmoothed! |
The above screenshot shows how the model looks with turbosmooth turned on. Not bad!
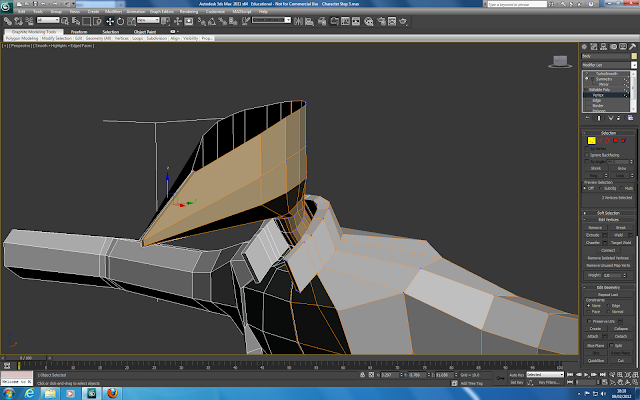 |
| A very pointy chin. |
Since the characters head is very stylised I was unable to find a good tutorial which would help me make it. After a failed attempt at creating the head seperatly I decided to just build upwards from the neck I had created earlier.
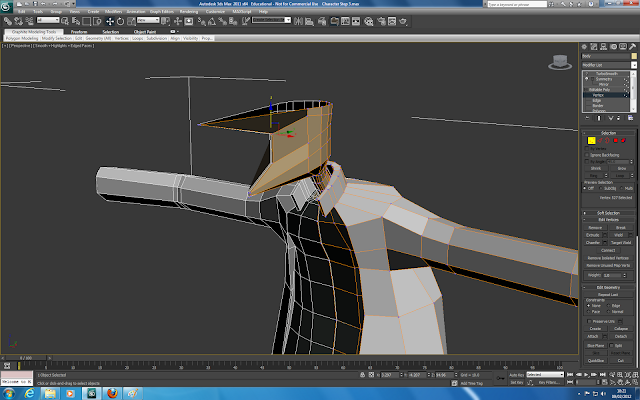 |
| And a pointy nose |
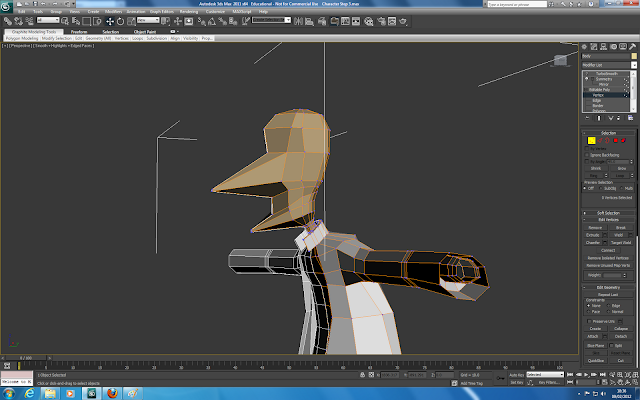 |
| Basic shape complete |
I have the basic shape of the head done now. It will require a lot more tweaking and smoothing out. A great deal of attention will need to be added to this part of the model as it is mostly likely to be featured often during the animation itself.


No comments:
Post a Comment