Thursday 3 May 2012

The Final Video - Conclusion

All rendered and encoded! Here is the final video including a bonus scene after the credits!


Overall I'm quite happy with the video, as I said in a previous blog post I think it could have benefited from a music track and some more detail to the environments. The issue with morpher also reduced the overall quality of animation that I was aiming for but I feel that the video meets the brief intended. 

The character is identifiable with a cartoon villian while being silly and humorous enough to not be too scary for the intended audience of 7-11 year olds. I implemented multiple poses and hand gestures to create body language relatable to villians and created a believeable backstory for the character which I hope came across in the animation. 

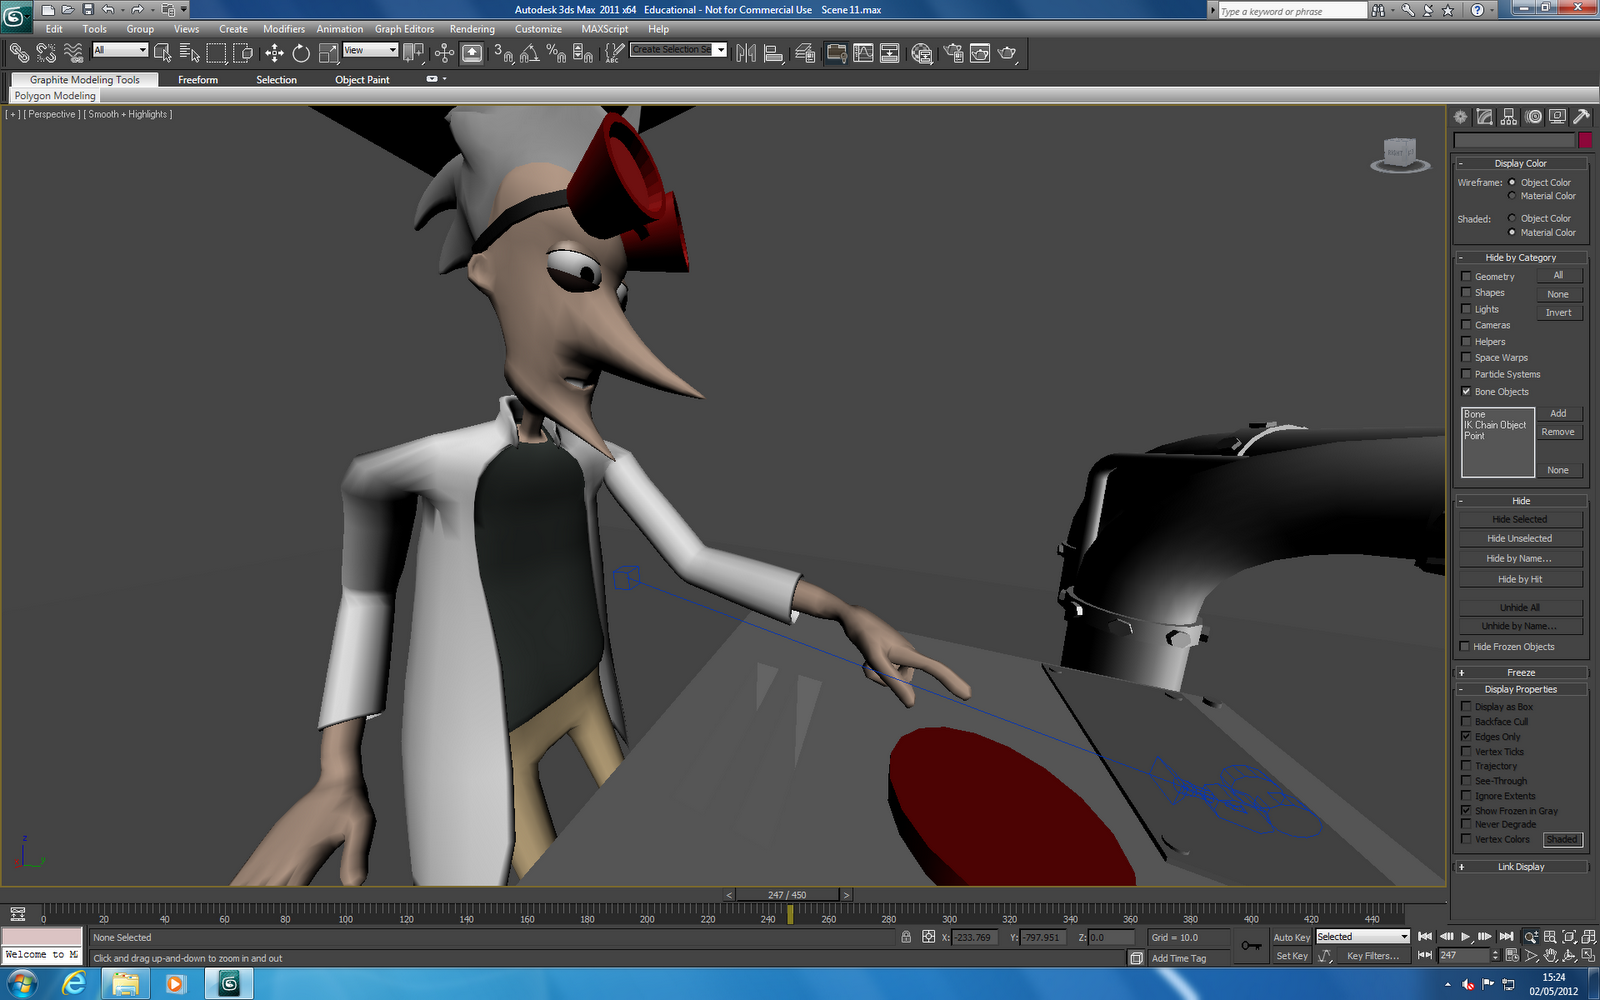
I am dissapointed that I was unable to get any animation with the character's mouth working due to issues with the CAT motions system, Skin modifier and Morpher. Hopefully I have demonstrated my knowledge with morpher and facial expressions in previous blog posts and that, if I had more time to work on the animation I could have succesfully implemented some. 

If anything I have learned from the mistake of making the character model as one large model and would be better off creating smaller peices, head, chest, hands etc. For future reference this makes modelling and rigging easier and inparticularly makes modifications later on a lot less hassle.

Post Production - Rendering and Encoding

With the deadline for hand in of the project in less than two days I decided it would be best to just render what I had and make do. If I had had more time I would have gone through the scenes and added more enviromental details as well as better lighting.

I rendered each scene in high quality, frame by frame and then stitched the frames back together in Adobe Premier Pro where I spent some time adjusting the position and timing of the scenes.

Premier Pro


I added as many decent sound effects as I could from the website FindSounds.com the sounds on here are either free to use or royalty free which should be fine for this project. I also added in some title screens like the credits and since I had to cut the scene where the doctor builds the machine off screen I added a "some time later..." title in between scenes.

Unfortunatly I wasnt able to find suitable free backing music for the video but I think the sound effects work well enough for the scope of this project.

Animating Process - Scene 14 & 15

The final scenes of the animation! Scene 14 is a quick and humorous shot of the toast as it pops up from the control panel in front of the doctor.

Simple Toast Model


Ding!


After the toast unexpectedly pops up the doctor, shocked with what just happened, slowly looks down at it before drooping into a sulk due to yet another of his failed inventions.

Whats this?

God Damnit...


Without the use of morpher I had to make do with animating the characters head in general, his arms and luckily, eyes. He drops his arms and they swing slightly to look natural as well as drooping his head and closing his eyes. He is clearly dissapointed.

Animating Process - Scene 12 & 13

Scene 12 continues from the previous scene but from a side shot camera angle of the button itself as the Doctor presses it.

Scene 13 involves a bit of environmental animation. The machine begins to rumble and emit steam as it works away. In the background the doctor shakes his hands (much like Wallace of Wallace and Gromit does) to simulate his excitement.

See youtube video at 1:14 here:
http://www.youtube.com/watch?v=DAJMiGv5SxI

Super Particles!

Steam Texture

Bit more steam and animation on doctor.


I'm fairly happy with how this scene turned out. The only downside is that the doctor doesnt look as excited as I would have liked. Perhaps some extra animation, figeting, jumping around etc would have helped here. However time being short I have decided to make do with this.

Animating Process - Scene 11

Scene 11 is an over dramatised view of the doctor reaching to press the button to start the machine. The animation itself was quite simple thanks to the CAT motion system.

I created a new layer with the pose of him about to press the button and blended the layer in over the top of the last one.

Reaching for the button
Camera perspective, high field of view
The high field of view on the camera really emphasises the effect I was going for. It is also animated to zoom backwards to reveal the button behind it.

Wednesday 2 May 2012

Animating Process - Scene 9 & 10

Scene 9 is just a quick shot of the control panel with the start button on it so I wont detail that here. Scene 10 however was probably the most complex animation so far.

In an attempt to mimic the hand motions of Dr. Doofensmirtz from Phineas and Ferb, previously mentioned in the blog, I had to individually animate each finger and make sure they were synced correctly with the other fingers.

Animating the wriggly fingers


It took a long time and some fiddling but I managed to get a relatively fluid looking animation. However I had only done one hand so far. In an attempt to find a quicker solution I looked online for some advice and came across the option to save and load animation clips.

Right clicking the palm and selecting save anim

Saving the animation clip


Saving the animation of the palm includes all child bones, in this case the fingers. After saving the animation it can then be loaded on any similar bone.

Right Click, Load Anim


Loading the Animation


The load animation option is quite flexible and allows the animation to start at any frame. In this case I only needed it to start at frame 0 like the other hand. Double the work in half the time!

This complex animation however revealed that the skin envelopes around the fingers were less than perfect so I had to readjust them to prevent bulges and other unnatural shapes.

Fixing the fingers

Modifying individual vertex strengths.


Here is a preview of how the animation looks so far. Not bad, just wish I could give him some facial expressions. As of this moment I have had little luck with morpher but hopefully I will have time yet.


Animating Process - Scene 8

Scene 8 is a quick shot of the doctor standing up after finishing his machine and removing his goggles, its a pretty simple scene but adds a lot to the continuity for the next scenes.

Crouching
Positioning the hand around the goggles


Pushing up the goggles


Not much to say here. I simply created a CAT motion layer where his hand is on the goggles and blended the layer in to quickly animate the motion. I also had to use the FDD 4X4X4 modifier on the goggles to get the strap to look right as it moved.

Tuesday 1 May 2012

Animating Process - Scene 7

Since scene 6 can potentially be summed up with a black screen and some funny sound effects I decided to skip it for now to concentrate on more important scenes.

Scene 7 is the introduction for the reveal of the doctors machine. The camera pans out from an extreme closeup of the machine until the doctor is revealed making last minute adjustments to the control panel.

Setting the Scene
Making adjustments
As the camera pans out the doctor animates his arms and head as if making adjustments to the machine.

The oval shape pod of the machine, highlighted in pink here was taken from an existing free to use model to save time.

This model can be found here:-
http://www.turbosquid.com/FullPreview/Index.cfm/ID/154630 
The use of this model is protected under the standard royalty free license.

Animating Process - Scene 5

This is the scene that basically shows the doctor getting to work, he pulls on his goggles, causing the rubber band to stretch and then lets go snapping them into place over his eyes.

Hands Positioned, Grabbing Goggles


Same as above, without bones showing


To animate the goggle strap stretching I used the modifier FFD 4X4X4 which allows simple deformation of the object.

Before Modifier

After Modifier


This gives a fairly realistic stretching look as the object is deformed. He then moves the goggles to be about eye level and releases them. This is achieved by animating the fingers individually.

Holding at eye level

Release!


Here is a quick render of the whole animation as it looks so far. I added a small recoil animation on his head as the goggle goes into place to overemphasise the force.


Animating Process - Scene 4 Continued

Continued from the previous post I have animated the basic animation for the character laughing maniacally. He raises his arms up in a dramatic pose and laughs hard by leaning back. The scene still needs some facial expressions including him opening and closing his mouth to present laughter.

I have looked into proper use of the morpher tool to achieve this effect here:-

http://extrox.com/3ds_max_tutorials/3ds_max_animation/animating-facial-expressions-using-the-morpher-modifier

The link above his a couple great videos on the use of morpher for facial animation including how to create phonemes to simulate speach. However I have decided to come back to this later if possible as the deadline for the project is looming closer and I fear I will not have a complete animation in time if I stop to encorporate this. 

The classic pose


Another angle showing camera setup


Monday 30 April 2012

Messing With Morpher

Ive had a great deal of trouble trying to get morpher to behave in conjuntion with both the CAT Motion system and the Skin Modifier. It seems that attempting to create copies of the mesh after rigging does not work in the slightest. The only success ive been able to have is to turn off skin, thus losing all rigging and animation so far and then create morph targets.

Even like this it doesnt seem to work correctly so, since the amount of time left to complete the animation is quite short I have decided to not use the morpher modifier. Unfortunatly this means I cant animate the mouth during the scenes where he should be grinning or laughing.

Just to show that I am capable of using morpher I quicker created a test animation blending his slightly adjar mouth into fully open.

Morph Target Copy

Smiling

Open Mouth

Animating Process - Scene 4

In scene 4, Dr. Charles reveals his dastardly plan to the audience by unravelling his blueprints onto the desk in front of him. The words Doomsday Device Number 22 are visible at the top of the blueprint indicating the potential danger of his plan as well as the success he has had so far with the previous 21 devices (None).

This scene start in a first person view from the doctors perspective as he puts the blueprint on the desk and unravels it.

Blueprint as created in Adobe Photoshop CS4

Setting up the scene

Unravelling the blueprint in first person

View of the scene from a different angle

Camera pans up slowly to finally reveal the character


The screen shot above is the view that leads into the character grinning and then laughing manically which I am going to work on next.


Sunday 29 April 2012

Animating Process - Scene 2 & 3

Scene 2 is a short short segment where the character claps his hands to turn on the laboratory lights. It leads directly into scene 3 after the lights have flickered into life.

In scene 3 the character drums his fingers together in a thoughtful yet creepy manner. This is the end of the introduction scenes and simply jump cuts into the next scene where things get started.

Scene 2 - Clapping on the lights

Scene 3 - Drumming fingers


The drumming of the fingers was a simple yet fiddely process, animated using keyframing techniques for each finger. Once I had the initial sequence of fingers drumming I copied the frames and duplicated the sequence twice more.

Here is what it looks like at the moment:


The sequences feel a bit jumpy between each other so I will probably go back and try and make it flow better. 


Thursday 22 March 2012

Animating Process - Scene 0 (Intro Scene)

Probably would have been easier to call this scene 1 but what you gonna do?

Anyway this scene is the introduction of the character, shot in silhouette to maintain mystery and suspense.

Character is revealed!


This scene didnt take too long to create, he simply stands in the doorway with his hands on his hips in an impatient manner as the doors slide open. A target spot camera is placed behind him with high intensity to create a silhouette.

Here is how it looks at the moment:

Thursday 15 March 2012

Animating Process - Scene 1

Since I have a walking cycle animation already working I decided to start with one of the first scenes where the character walks into his laboratory. The shot focused on the characters legs since the final reveal of what he looks like is supposed to be dramatic.

Setting the scene
I set up a temporary floor and walls for the shot which I will probably texture later on. This scene will also be dark until the character claps on the lights in the room. The camera is link constrained to the line path setup alongside the character.

Setting the Walk Mode to Walk on Line
In the global settings for the CAT motion layer there is a setting to change the walk mode. Using walk on line makes the character walk forward from its starting position. You can also set the step time in frames and how far he steps in stride paremeters. I have already adjusted them here.

Camera View


Modifying the global weights of the motion layers


By changing the global weights of the motion layers in CAT you can blend between poses and animations. I created a standing pose layer for when he stops walking and slowly blend the weight to 100% until it takes full priority. I used the Global Layer Weights Curve Editor to tweak it until it looked natural.


Not perfect but a good start.

Thursday 8 March 2012

Animation Stroyboard

Finally got round to drawing up the storyboard for the final animation. I've had the text portion below written out for a couple of weeks now. In any case here is the final draft I have created.

Storyboard

Setting

A lab room full of equipment, there are tables with scrap littered about and a main desk with blueprints on them. There is also a blackboard with complicated maths on it. The room starts out very dark with no windows. The room is later illuminated by industrial lights from above which are clap activated. 

Intro
  • Dark scene, door opens and some light floods in.
  • Character walks in (Camera follows the characters legs as he walks).
  • Character Stops. Camera switches to his hands.
  • He claps and the lights above switch on.
  •  Camera stays on his hands as he drums his fingers together thinking.
Set-Up
  • Scene cuts to character smoothing out his blueprints with his hands on a desk. 
  • Title of blueprint is easily visible "Doomsday Machine".
  • Camera slowly pans back up to show characters face.
  • Character grins menacingly and then laughs hysterically (classic evil laugh and pose)
Mid-Shots
  • Shot of character putting on his goggles to work.
  • Sound effects highlight most of the action as the character works on his machine.
  • Camera shows scrap paper pinned to wall. "Greatest Inventor wins yet another award". 
  • The picture is clearly of someone else. The picture has a red big cross on it.
  • Couple shots showing character working on machine. - Using wrench - half underneath machine. etc.
Ending
  • Machine is finished, character pushes up his goggles.
  • Before pressing the button he is clearly excited, gesturing with his hands (fingers wriggling) and then slowly he presses the button on the machine.
  • Machine makes odd noises, sputters, powers up and finally DING. Toast pops out.
  • Shot of characters face - shocked non expression.
  • Head falls and he droops all disappointed.
Post-Credits Bonus
  • Character sitting in a chair munching on toast. 

Storyboard 1

Storyboard 2

Monday 27 February 2012

Test Animation

A simple walk cycle animation featuring my character. The walk cycle is built into the CAT motion system. However since I modelled the character with his arms outstretched I had to modify the animation to get his arms to behave normally.

Rigging

I have used the relatively new CAT system to rig my character. The process is much easier compared to individually creating bones which means a lot of time has been saved. The motion system is also very powerful allowing for the merging of different animations simultaneously.